Repotting is an essential part of plant care that helps ensure your plants continue to thrive. But how do you know when it’s time to repot? If you notice any of the following signs, it may be time to give your plant a new home with fresh soil:
1. Roots Are Growing Through the Drainage Holes
One of the clearest signs that your plant is outgrowing its pot is when the roots start poking through the drainage holes. This indicates that the plant is becoming root-bound, meaning the roots have filled up all the available space and are now seeking more room to grow.
2. The Plant Is Top-Heavy or Leaning
If your plant starts to lean to one side or becomes top-heavy, it could be a sign that the root system is no longer able to support the plant. A larger pot will provide the stability and space needed for the plant to grow upright and healthy.
3. Stunted Growth or Yellowing Leaves
When a plant becomes root-bound, it can no longer absorb nutrients effectively, leading to poor growth. If you notice that your plant is no longer growing as quickly as it used to or if its leaves are turning yellow despite proper care, it could be a sign that the roots are crowded and need more space.
4. The Soil Dries Out Quickly
If you find that your plant’s soil dries out very quickly after watering, it may be a sign that the roots have taken up all the available space in the pot and are absorbing water too quickly. Repotting will allow the soil to retain moisture for a longer period and provide a better environment for your plant.
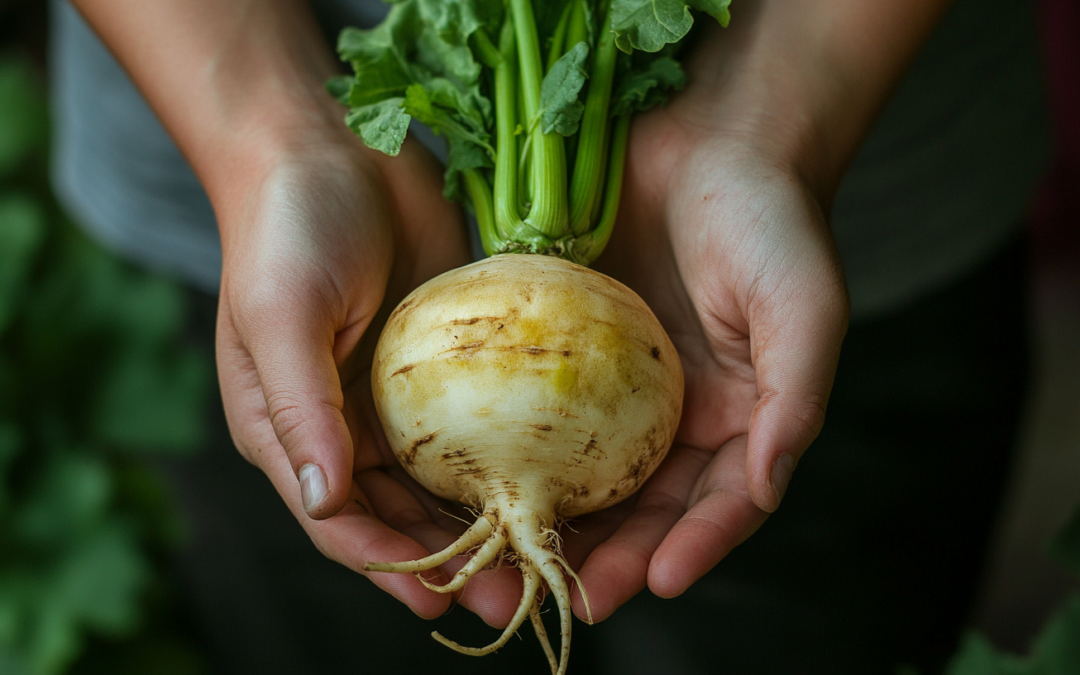
5. You Can See the Plant’s Roots on the Surface
When the roots start to push up through the soil’s surface, it’s a clear indication that the plant has outgrown its pot. The roots need more space to continue growing, and repotting will give them the room they need to spread out.
How to Repot Your Plant Safely
Repotting can seem intimidating, but with a little preparation, it’s an easy and rewarding process. Here’s how to do it:
Step 1: Choose the Right Pot
Select a pot that’s 1-2 inches larger in diameter than the current one. Going too large can overwhelm the plant and lead to overwatering issues, as the soil will stay wet for longer than the roots can absorb. Ensure the pot has drainage holes to prevent water from pooling at the bottom.
Step 2: Prepare the New Pot
Place a layer of fresh potting soil at the bottom of the new pot. This will give the roots a comfortable place to settle into. If your plant’s roots are compacted, gently loosen them with your fingers or a small tool to encourage new growth.
Step 3: Remove the Plant from Its Old Pot
Carefully turn the plant upside down, gently tapping the sides of the pot to loosen the soil. If it’s stuck, try running a knife around the edges of the pot to release the root ball. Be gentle to avoid damaging the roots.
Step 4: Inspect the Roots
Examine the root ball for any signs of rot or disease. Trim away any brown, mushy roots with sterilized scissors or pruning shears. Healthy roots should be firm and white or light tan.
Step 5: Place the Plant in the New Pot
Place the plant in the center of the new pot and fill in around the edges with fresh potting soil. Make sure the plant is sitting at the same depth as it was in the old pot, and gently firm the soil around the roots to eliminate air pockets.
Step 6: Water Thoroughly
After repotting, water the plant thoroughly to help settle the soil and hydrate the roots. Be sure to allow any excess water to drain out of the pot.
Tips for After Repotting
- Avoid Fertilizing Immediately: Wait at least a month before fertilizing your plant after repotting. Fresh soil usually contains enough nutrients for the plant to thrive in the short term.
- Keep the Plant in a Shaded Spot: After repotting, place the plant in a location with indirect light for a few days to help it adjust to its new environment.
- Monitor Watering: Be careful not to overwater your plant right after repotting. Let the soil dry out slightly between waterings until the plant settles into its new pot.
Repotting is an important part of plant care that ensures your plants have the space they need to grow strong and healthy. By recognizing the signs that it’s time to repot and following these simple steps, you’ll help your plants thrive for years to come!